 Philippine Quality -
 Pre-Requirements Of cPanel Installation
Note: Before installing, I should mention that you can paste commands by right-clicking inside the SSH connection (Putty).
Note: Use root username or a username that has root privileges to install cPanel, otherwise, you may need to put sudo before each command that you run. For example, “sudo yum update“. To get more details about Sudo, check what is Sudo exactly.
1- Update Centos 7
Use this command to update the server before installing cPanel. The update process will take some minutes according to your network speed and the value of your resources.
yum update -y
You will be asked yes or not, that you should type y and press enter to proceed with the update.
2- Installing Perl
Perl is the language that cPanel has been written with.
Run the following command to make sure that Perl is installed on the server.
yum install perl
3- Installing Curl
The Curl is required to download the cPanel installation script; the following command can install the Curl:
yum install curl
4- Add Hostname
Cpanel requests for a hostname that should be in (FQDN) Fully Qualified Domain Name format. For example, in this topic, we will use myeserver.mydomain.com, and instead of this, you should put your own hostname.
Here is the command to set it:
hostnamectl set-hostname myeserver.mydomain.com
5- Disabling Network Manager Service
Network Manager service is used to connect computers; cPanel asks to remove this service or disable it when installing cPanel.
service NetworkManager stop
chkconfig NetworkManager off
6- Disable SELinux Temporarily
SELinux is the main security defender of the Linux Kernel, and it is better to be disabled to prevent any access issues when we install cPanel on CentOS Server. You can use the below command to disable it temporarily.
setenforce 0
Installing cPanel With Trial License
You can use this code to install WHM / cPanel. The cPanel installation process will take some minutes according to your network speed and the value of your resources.
cd /home && curl -o latest -L https://securedownloads.cpanel.net/latest && sh latest
Based on the resources of your server, the installation may take about an hour to 2 hours.
Enabling Network Manager Service
Remember to enable this service once the installation was completed with the below commands.
service NetworkManager start
chkconfig NetworkManager on
Note: It is not essential to reboot the server, but you can still restart all installed services through the below command.
reboot
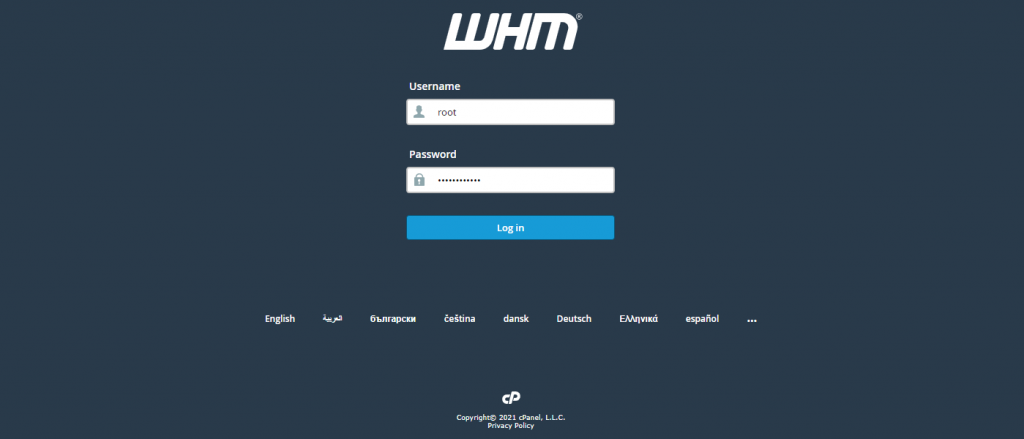
Once the installation was completed, you will face the login URL to login into WHM / cPanel.
URL to login to the admin panel of cPanel / WHM: https://serverIP:2087 ( Consider that instead of server IP, you should put your server’s IP, which is this for me: https://48.68.149.135:2087 )
Username to log in to the admin panel of WHM: It is the root or the username that you use instead of the root.
The password to login to the admin panel of cPanel: It is the password of your server.
Activate Free 15 Days Trial WHM / cPanel License
Formerly, you didn’t need to do anything to activate the free 15 days license of cPanel. But now you need to login into your cPanel Store account. If you have an account, sign in and if you don’t have, sign up. I will explain now how to do it.
In this section, we will sign up and continue the steps to create a cPanel free 15 days license.
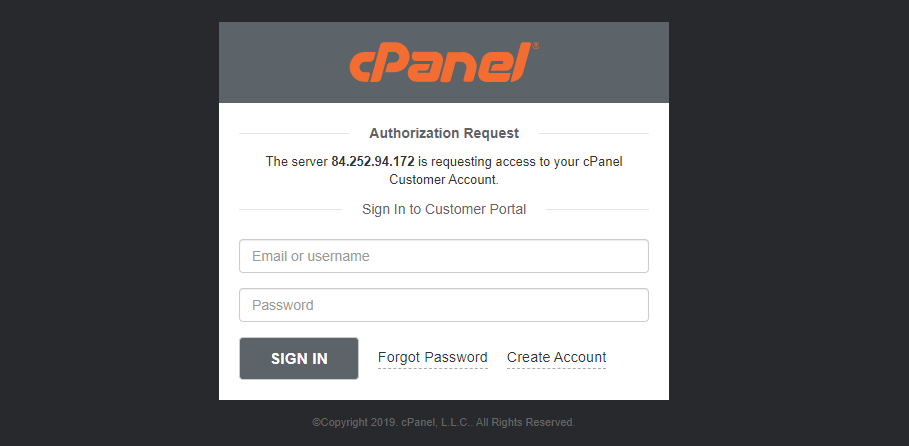
To create a free license, you should log in to your cPanel web interface after installing it. Then you will be asked to log in to your account or to sign up if you don’t have one.
Use your server’s username and password to login into your WHM account.
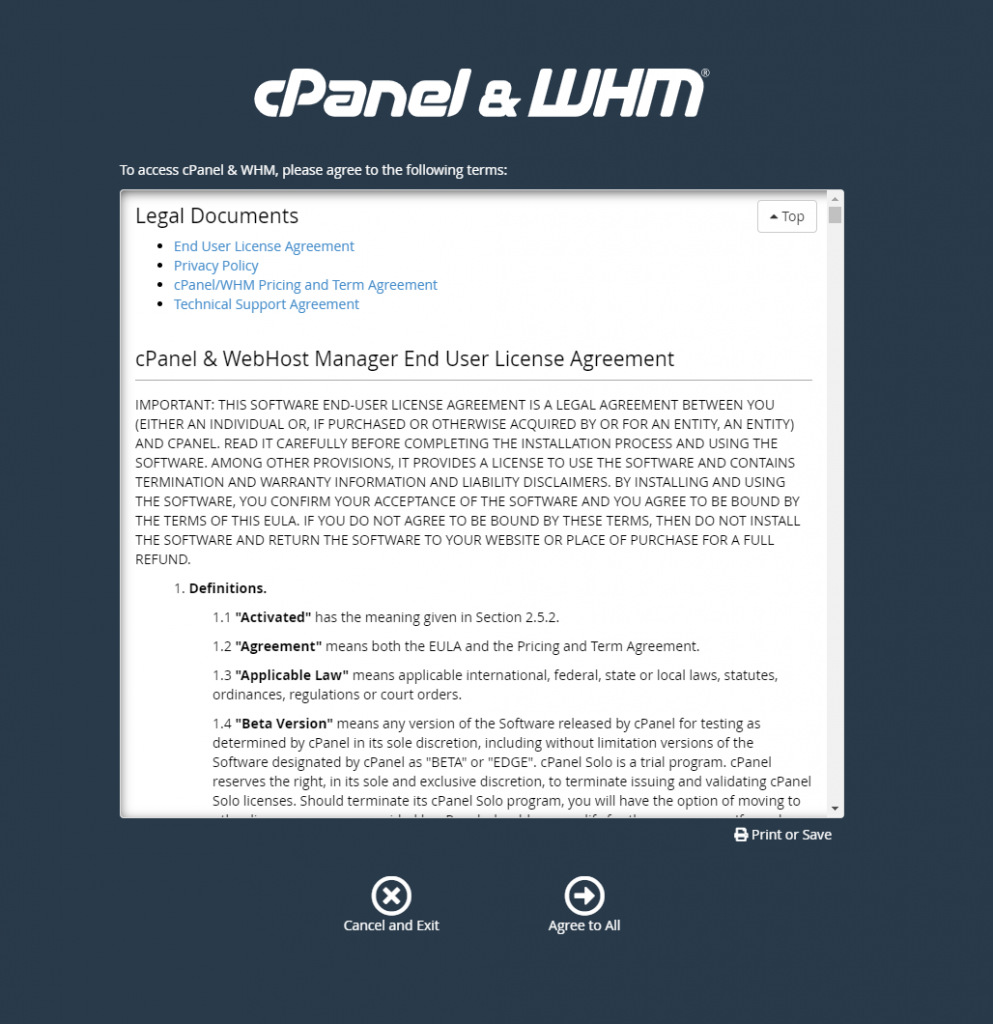
Read cPanel terms and agree to all if you wish!
As you can see it asks to login into your cPanel Store account, which we will create now, so choose login to continue.

In this step, there are 2 options that we can choose from. To login to your cPanel Store account if you have, or to sign up for it.
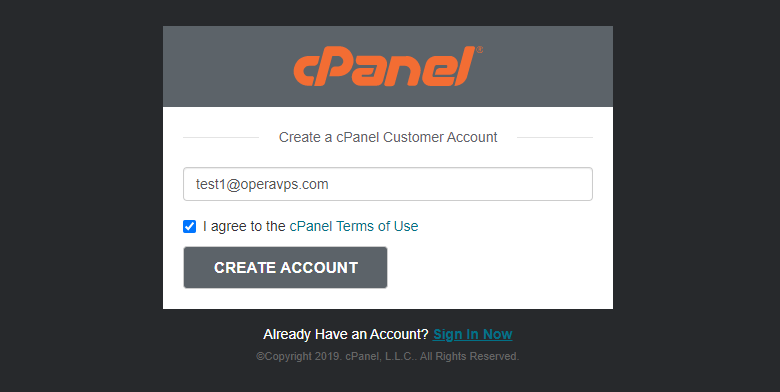
Click create an account if you don’t have one.
Enter your email address, agree to cPanel terms of use, and click to create an account.
Now, you will receive an email to set a password for your cPanel customer account.
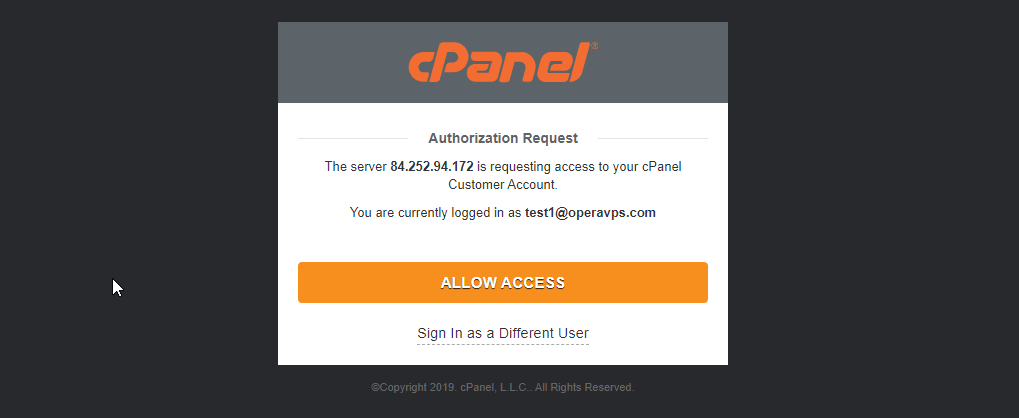
Consider that if you are logged in to your email in the same browser that you are configuring the WHM and creating the account, you will be asked to allow access to the IP of your server to be connected to the email address you entered.
To do so, choose to allow access.
Note: Otherwise, if you are not logged in to your email in the same browser, you should click on the link that you will receive to your email to set a password for your account. Then you can go one step back and try to log in.
In this step, you will receive a code that you should enter.

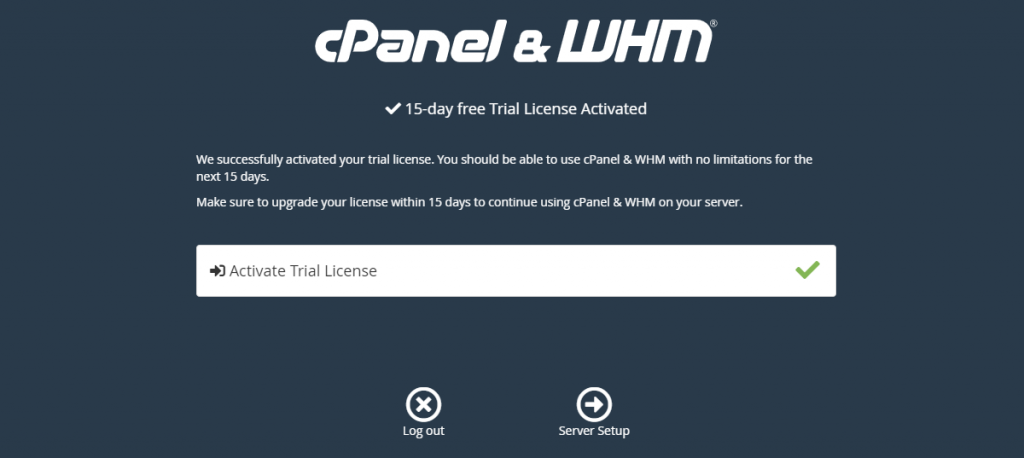
This page shows that your trial license activation was successful. So you can continue to the server setup section.
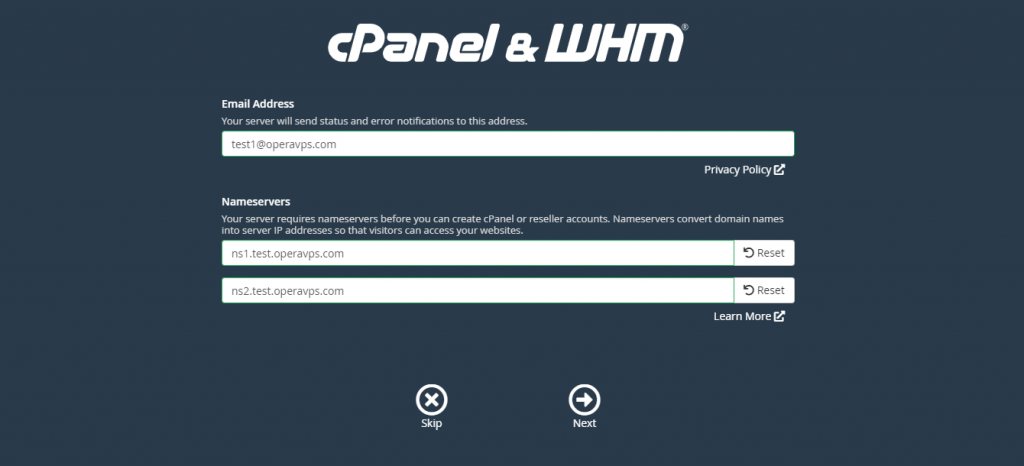
In the next section, you should enter an email address to receive probable error notifications from WHM.
Then you should enter 2 name servers. Name servers are used to connect your domain or subdomain to your WHM server.
Note: You should also create these as child name servers in your domain control panel too.
And congratulations, you are finished installing the cPanel WHM and creating the free trial license.
Note: Once the installation of WHM and its basic configuration is finished, reboot the server to apply kernel and software updates.
Purchase, Verify And, Update The cPanel License
-
Purchase cPanel License.
You can order a cPanel license through the licenses page of our website.
-
Verify the cPanel License.
If you wish to verify that your license has been activated successfully or not, you can use the cPanel verify system.
-
Update cPanel License.
Once you ordered a license, you should run this command inside your server, and as a result, the license will be updated.
/usr/local/cpanel/cpkeyclt